DIY Jewelry Storage Ideas: Hanging Jewelry Organizer
9:32 PMStoring your jewelry in a proper way can be quite a challenge, right?
Well, at least it will be, if you have - like me - thousands of necklaces, bracelets and earrings in desperate search of their partner..
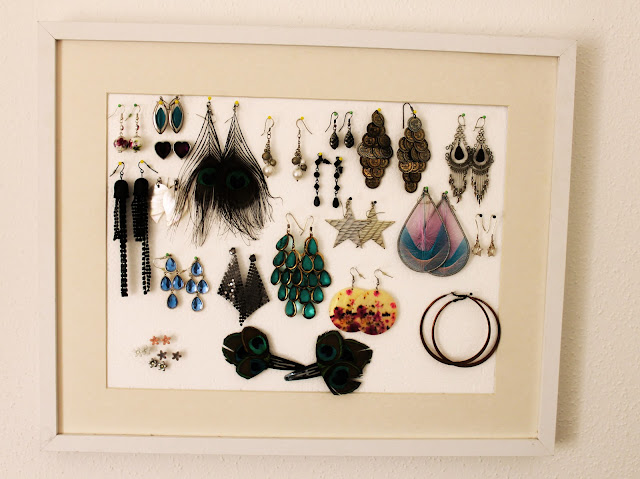
Let's end the search and craft a decorative solution! There are lots of great diy jewelry storage ideas on the net - maybe my hanging jewelry organizer in a picture frame is the right one for you.
Shaping the Styrofoam makes a mess, but the result is worth it. To individualize your jewelry organizer, use colorful fabric to cover the Styrofoam and adapt it to your likes (see also Jewelry Storage Ideas for more ideas).
Let's end the search and craft a decorative solution! There are lots of great diy jewelry storage ideas on the net - maybe my hanging jewelry organizer in a picture frame is the right one for you.
DIY Jewelry Storage Ideas: Picture Frame
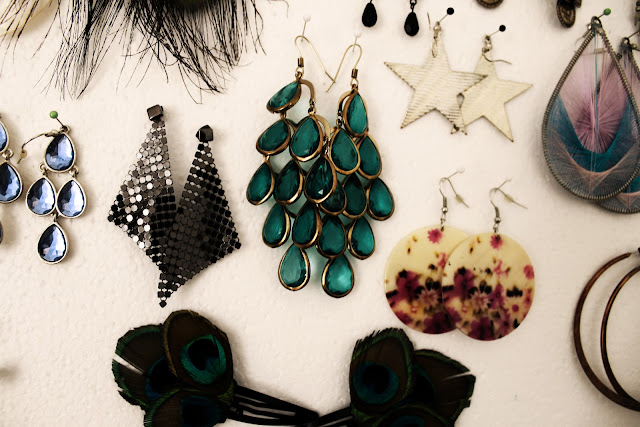
Jewelry Storage Ideas: Earrings are properly organized
Jewelry Storage Ideas - Instruction and Materials Needed
- Styrofoam boards
- Picture frames
- Lots of pins
- Knife (Sharp!)
- Pencil
- Ruler
- Colorful fabric (optional)
Hanging Jewelry Organizer - Instructions
Use the knife to cut the Styrofoam to the proper size. For a decent result, use pencil and ruler to draw the measure of the frame onto the styrofoam before cutting.
Afterwards, put the Styrofoam board into the picture frame, set the pins - done!Shaping the Styrofoam makes a mess, but the result is worth it. To individualize your jewelry organizer, use colorful fabric to cover the Styrofoam and adapt it to your likes (see also Jewelry Storage Ideas for more ideas).


0 comments