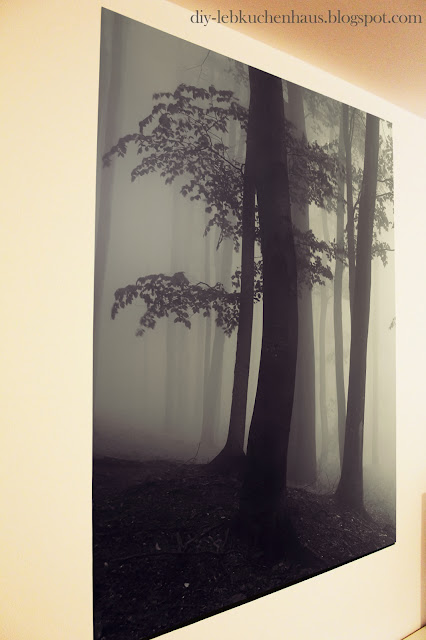
Cool Wall Murals for the Living Room: Forest Wall Mural
7:36 PM
I have to confess our living room is still quite Spartan.
No curtains (I'm no fan of curtains) and also no decoration or pictures on the walls. We also don't have painted walls - time for a change!
Thus, I ordered an adhesive forest wall mural on http://pixers.de, which matches to the simple look of the living room. The decision was pretty hard, as there were a lot of cool wall murals. In the end, I took a tree mural, which enlarges the room.
Enlarge your living room with wall murals
Matches to our room: Foggy Forest Wall Mural
Wall Mural Installation
As the mural is covered with glue, it's pretty simple to attach it to the wall. Don't forget to measure exactly where you want to place the mural. Make also sure, it's even to the sides of the room and the ceiling. For this, you need a level. A real one, no app - they just don't work as well. Furthermore, you should use masking tape.
I did it the following way: I measured on several spots the distance to the ceiling and marked the spots with a pencil. Afterwards I linked the spots with masking tape and used the level to make sure I have a straight line.
Now you can stick the wall mural to the wall along the masking tape - it's best if two people do it together (much faster and easier). Finally, remove any air bubbles... and done!


0 comments